Curious about how to reconcile credit card in QuickBooks? This post will teach you everything you need to know to accomplish that.
QuickBooks is arguably the best accounting software suite available out there at the moment. It is full of features. Interestingly, it is a very new software package compared to many similar ones.
Still, it comes with some of the most useful and unique features and specs that you will not find anywhere right now.
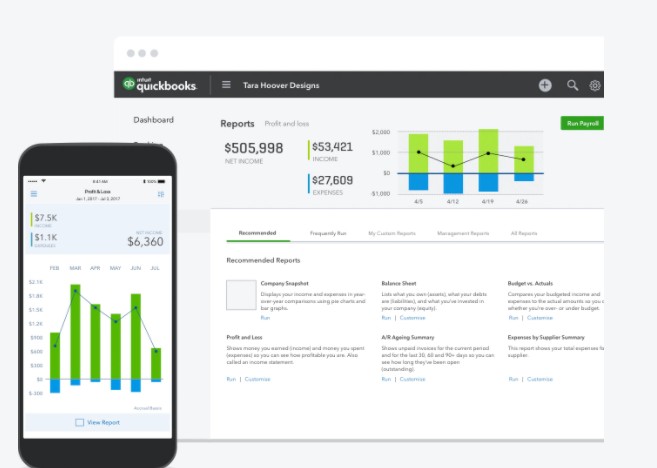
Unsurprisingly, all these features also made the software difficult for newcomers to get the hang of it. For instance, many users don’t know how to reconcile credit card payments in QuickBooks. If you are one of them, then you can stop worrying.
Because in this post, we will be sharing how to reconcile credit cards in QuickBooks in a step-by-step manner. In addition, we will also share a lot of different tips on using QuickBooks like a pro.
So, without wasting more time, let’s dive right in…
How to Reconcile Credit Card in QuickBooks
QuickBooks recommends reconciling your accounts once every month. When you check and see if your real-life credit card statements match the data in QuickBooks is known as reconciling. Reconciling is almost like balancing your checkbook.
QuickBooks advises you to reconcile everything, including your credit card statements, checking, and savings bank account, with QuickBooks as well. Now, before you begin, you must have the credit card statement at your disposal, as we will show you how to reconcile the credit card payments in this post.
Step #1Get Ready for the Reconciliation
As usual, before proceeding to the real deal, you should always take a backup of the company file. And, if it is the first reconciliation process of an account, you should review the account’s opening balance.
At the same time, you should have the credit card statement in your position. And, you should have already entered all the transactions from the credit card statement period you wish to reconcile.
Step #2 Begin the Reconciliation Process
Here are some tips before you begin. Chances are, you can reconcile multiple months. If that is the case, then you should begin with the oldest month. And, keep in mind to reconcile every month separately, and one statement at a time. Otherwise, there is a possibility of mixing it all up.
If you are not signed in and trying to reconcile a Payments or Merchant account, then you will have to sign in at first. The sign-in window will appear when you will try to reconcile. We assume that you are already signed to your valid account. Now, follow the steps below to begin the reconciliation process.
Steps to Follow
- First of all, navigate to the ‘Banking’ menu. From there, select the ‘Reconcile’ or ‘Reconcile Credit Card’ option.
- Next, you will have to select the credit card account you need to reconcile in the Account tab.
- Then, the ‘Statement Date’ would be filled automatically. However, you can still choose between 30 or 31 days, depending on your credit card statement.
- The ‘Beginning Balance’ would also be automatically filled in. QuickBooks will use the ending balance from the last reconciliation period here.
- Next, you have to enter the ‘Ending Balance’ from your credit card statement.
- Then you can use the ‘Finance Charge’ box to enter any service changes or internet earned depending on the credit card statement. Remember, you should not enter any charges that you have already entered into the app.
- If everything is correct, you can click on the ‘Continue’ button.
Step #3 Start Comparing the Credit Card Statements and QuickBooks
After clicking on the ‘Continue’ button, you will be redirected to the main reconciliation screen. Here, the ‘Changes and Cash Advances’ will be on the left-hand side of the screen. Whereas the ‘Payments and Credits’ section will be on the right side of the screen.
For the record, the ‘Changes and Cash Advances’ refer to the purchases. And the ‘Payments and Credits’ would refer to your payments to your credit card company. It is better to compare each section separately.
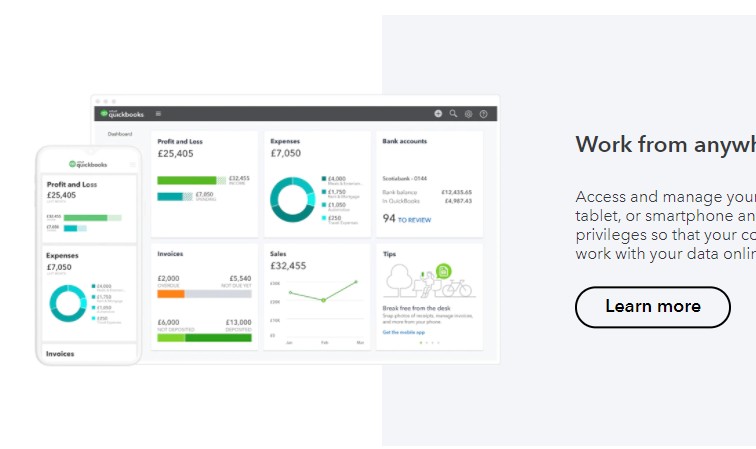
So, start comparing the list of the payments and transactions on your credit card statement with ‘QuickBooks’. If you have found the match, you need to click on the checkmark column next to each transaction in QuickBooks.
As a result, you will see a checkmark in front of the transaction. This reconciles the particular transaction. So if a transaction is not found in the credit card statement, you should not mark it as reconciled.
Thus, it is up to you to match each and every transaction on QuickBooks with your credit card statement. Once you have matched all the transactions, you should look at the bottom right corner of the screen, where you will find a ‘Difference’ field. If you have reconciled every transaction properly, then the difference there should be 0.00 (zero).
But if you find something other than zero, then there might be a mix-up somewhere. Chances are, you might have missed a transaction, or entered the wrong data, or your credit card company might have charged you twice, etc. So, check back and fix that issue as soon as possible.
Step #4 Finish Reconciliation
We assume that the difference is zero in your case. So, now you can click on the ‘Reconcile Now’ button. In the next screen, you will be able to get the reconciliation report. There will be 2 options. If you want to view the newly created reconciliation report digitally, you should click on the ‘Display’ option.
Or else, you can also select the ‘Print’ button to print it. You can also choose either ‘Write a check for payment now’ or ‘Enter a bill for payment later’ to proceed with the payment. The ‘Write a check for payment now’ option can be handy if you want to pay the credit card bill via a check. And you have successfully reconciled your credit card in QuickBooks.
Step #5 Review the Reconciliation
Interestingly, this feature is also available in QuickBooks. So you have reconciled the credit card statement on QuickBooks already. Now, what if you want to review any reconciliation report later on? To do that, you can follow the steps below.
Steps to Follow
- Open the QuickBooks software on your PC if you haven’t already.
- Then navigate to the ‘Reports’ menu.
- From there, you need to select the ‘Reports Center’ option.
- Now, search and open a ‘Previous Reconciliation’ report.
- Then, you need to select the particular account you have reconciled.
- Next, a popup will appear on the screen. You can select the ‘Summary’ or ‘Detail’ option, or you can also select the ‘Both’ option from there.
Some Tips to Make Reconciliation in QuickBooks Easier
QuickBooks is feature-rich accounting software. Above, we have shown you how to reconcile credit statements in QuickBooks. However, it might still seem tricky to some of our readers.
So, for you, we will share a few tips and tricks regarding the reconciliation process in QuickBooks. We hope these tips will come in handy when you are reconciling using QuickBooks. So here we go…
- If the transactions don’t match while reconciling, you can select the ‘Locate Discrepancies’ option. This feature will provide you reports on discrepancies and other issues with reconciliation.
- If you have to start again, then you can select the ‘Undo Last Reconciliation’ option. But this will also affect the beginning balance and all the cleared transactions.
- You can sort the transaction list by selecting the ‘Title’ or ‘Header’ of each column.
- If there is a matched transaction in the register, it will have a lightning bolt icon next to it. And if you reconcile it, you will see a checkmark icon instead of the lightning bolt icon.
- If you want to edit or get more detailed information about a particular transaction, you can select the specific transaction and then click on the ‘Go To’ option.
- You can also click on the ‘Modify’ button if you need to make a change when you have entered the ‘Ending Balance’, ‘Statement Date’, ‘Beginning Balance’, etc., at the beginning.
- Last but not least, you can also reconcile your checking and saving bank accounts using the same steps we have described above in QuickBooks.
- If you have multiple credit cards from the same bank on QuickBooks, it is better to create a parent account. And then you can set up the other ones as sub-accounts.
Here’s how to make sub-accounts if those accounts are already on your bank feeds.
- Under the ‘Banking’ field, you need to select the bank from which you have multiple credit cards.
- Then, click on the ‘Edit’ icon that actually looks like a pencil next to the credit cards that you need to make sub-account.
- Next, click on the ‘Edit account info’ button.
- In doing so, a popup window will appear as the Account window.
- Now, you have to put a checkmark next to the ‘Is Sub-account’ box by clicking on it.
- After that, select the parent account of your choice from the dropdown list under the ‘Is sub-account’ text.
- Finally, click on the ‘Save and Close’ button to close the window, and you are done.
Sum Up
Reconciling your credit card payments and statements is very important. As a matter of fact, you should do this every month. If you find that everything matches perfectly, you can rest easy knowing that the accounts are accurate and balanced. The best thing is that QuickBooks made it very easy to reconcile credit card statements.
Also, we have shown the entire process in a very detailed step-by-step guide. So we believe you will not face any problems when reconciling your credit card statements in QuickBooks.
If this post was helpful to you, you could share this with others to help them. Plus, if you have any suggestions or queries, you can leave them in the comments below.
More Posts for You:

